Snippet - Slideshow
Creating an automated slideshow plugin may look a little challenging at first but its actually pretty simple once you break it down. This code will allow you to show a set of images that transition every X seconds. It will be reusable and for a great example check out my projects page to see them in action.
Requirements?
There are a couple of things we will need in order for this to work. First, you will need the jQuery plugin which you can find here. Another item we will need is of course a set of images! Images need to be the same height and width. I used JPEG images for performance but give up quality; for more information on file types check out this post.
Setup
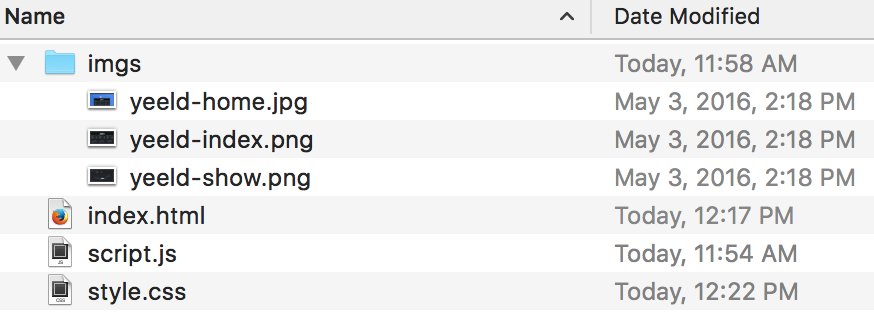
Lets get the file structure out of the way. Create a folder called slideshow and inside of it create a file called index.html. Next, inside of the slideshow folder create another folder called imgs and place all your images inside of there. Then, in root directory create two files one called script.js and the other style.css. Your folder structure should look similar to below. Also, make sure jquery is loaded before the script file.
Last open up your text editor and setup basic html strucutre in index.html. You can copy the code below.
<!DOCTYPE html>
<html lang="en">
<head>
  <meta charset="utf-8">
  <title>Image Sildeshow</title>
  <link rel="stylesheet" type="text/css" href="style.css">
  <script   src="https://code.jquery.com/jquery-2.2.3.min.js"   integrity="sha256-a23g1Nt4dtEYOj7bR+vTu7+T8VP13humZFBJNIYoEJo="   crossorigin="anonymous"></script>
  <script src="script.js"></script>
</head>

<body>

</body>
</html>
HTML Structure
We will need to setup the html markup first so head back to your index.html file. Create a div tag with id="slideshow-demo" and inside create img tags for however many images you have in your slideshow. Set the file path for each image which should be imgs/<image-name.extension>. Your images will be unstacked for now but that is ok we will work on that in the next part.
<div id="slideshow-demo">
    <img src="imgs/yeeld-home.jpg">
    <img src="imgs/yeeld-index.png">
    <img src="imgs/yeeld-show.png">
</div>

CSS Structure
We need to set some properties for the div and images so that the position of the images stack ontop of each other. In your style.css file set the div#slideshow-demo position to relative. Set the position for the images inside of the div to absolute. This will stack all the images on top of each other leaving the last image showing. What the css is simply stating is that for img tags position them relative to where the div tag is.
div#slideshow-demo { position: relative; }

div#slideshow-demo img { position: absolute; }

We need to create two classes that will be used later to set the state of an image to be hidding or showing. Create a class called show-img with a property of display and value of inline-block. Create another class called hide-img with a property of display and value of none. Also in your index.html set the class of the first image to show-img and the rest to hide-img.
.show-img { display: inline-block; }

.hide-img { display: none; }
  <div id="slideshow-demo">
    <img src="imgs/yeeld-home.jpg" class="show-img">
    <img src="imgs/yeeld-index.png" class="hide-img">
    <img src="imgs/yeeld-show.png" class="hide-img">
  </div>
JavaScript Part 1
Ok now for the main event of this tutorial. Open your script.js file and lets get down to work for the workhorse of this plugin. Lets start by working on the function that will add and remove classes during a specified time. See the code below I will explain each line.
1
2
3
4
5
6
7
8
9
10
11
12
function nextImage(id) {
  var cur = $(id + ' img.show-img');
  var nxt = cur.next();
  if (nxt.length == 0) {
    nxt = $(id + ' img:first');
  }

  cur.removeClass('show-img').addClass('hide-img');
  nxt.css('opacity', '0.0').removeClass('hide-img')
                           .addClass('show-img')
                           .animate( { 'opacity': 1.0 }, 1500);
}
Lets start top down. Line 1 we declare a function called nextImage and it takes in a parameter of id which will be the div container with the unique id of #slideshow-demo. In line 2 we are setting the current image to be displayed by querying the DOM to grab the first image. This is for our starting image. In line 3 we use the jQuery method next() to query the DOM and retrieve the next sibiling of the the image tag that has .show-img class.
Line 4-6 we need to check for a condition such that what if this is the last image in the set? So we say hey if you query and get nothing back then lets reset nxt to be the first image.
Now when X seconds hits and we query the DOM for the position we have to shuffle the classes around which is what lines 8-12 do. In line 8 we access the current image being showen and remove the .show-img class and add the hide-img class to hide it. Next, we grab the next item give it a css opacity property with a 0.0 value, remove the hide-img class and add the show-img class. We also need to slowly change the opacity to 1.0 which is where we use the jQuery animate function. The 1500 is the time in miliseconds it will take for the opacity to change from 0 to 1.0.
JavaScript Part 2
Now that we got or function that will be exectured every X seconds we now need to the the web page to start this method and automatically execute it every lets say 3.5 seconds. Take a look at the code below we are using a jQuery to help us execute this function.
$(function(){
  setInterval('nextImage("#slideshow-demo")', 3500);
});
The first line $(function(){ is a jQuery method that waits till the webpage has been loaded its a shortcut for $(document).ready(). Once the page has been loaded it executes the next function called setInterval which is a function that loops over infinitely every X miliseconds specified. We state that every 3500 miliseconds (3.5 seconds) we need to call the nextImage() function and we pass in the id of #slideshow-demo. You can change whatever time you want the images to transition by changing the second parameter.
The full code for the script.js file is below.
$(function(){
  // call nextImage over and over every 3.5 seconds
  setInterval('nextImage("#slideshow-demo")', 3500);
});

function nextImage(id) {
  var cur = $(id + ' img.show-img');
  var nxt = cur.next();
  if (nxt.length == 0) {
    nxt = $(id + ' img:first');
  }

  cur.removeClass('show-img').addClass('hide-img');
  nxt.css('opacity', '0.0').removeClass('hide-img')
                           .addClass('show-img')
                           .animate( { 'opacity': 1.0 }, 1500);

}
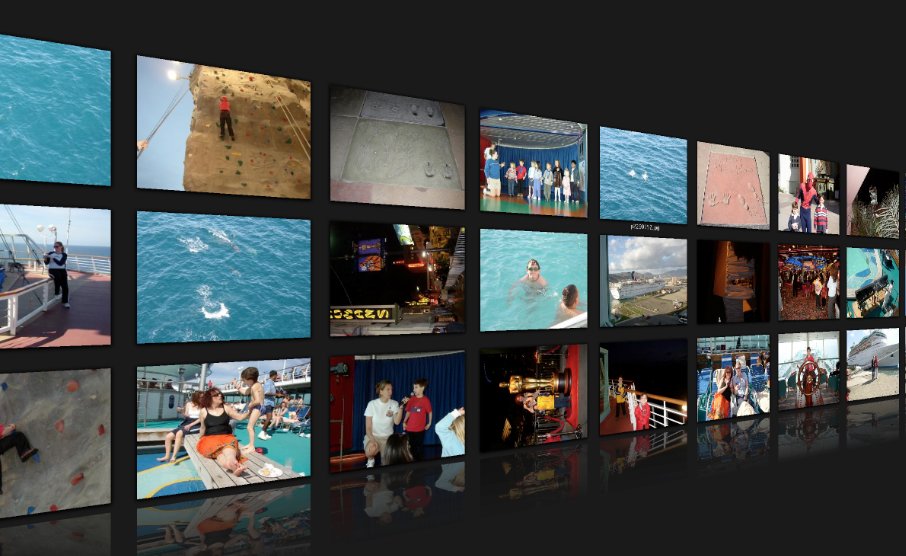
Here is the final result.


Now that you see the full code making a slideshow isn’t all that tough as it seems to be. Hope you enjoyed this quick tutorial. Please leave any feedback or questions below, thanks.