Blog With Jekyll

Jekyll is a static site generator that is written in ruby. It takes text files and renders them into HTML page. If you are looking for a simple web page or blog without having a database or maintaining a lot of code then Jekyll is for you. Another bonus when using Jekyll is that you can host your page on GitHub pages.
Installation
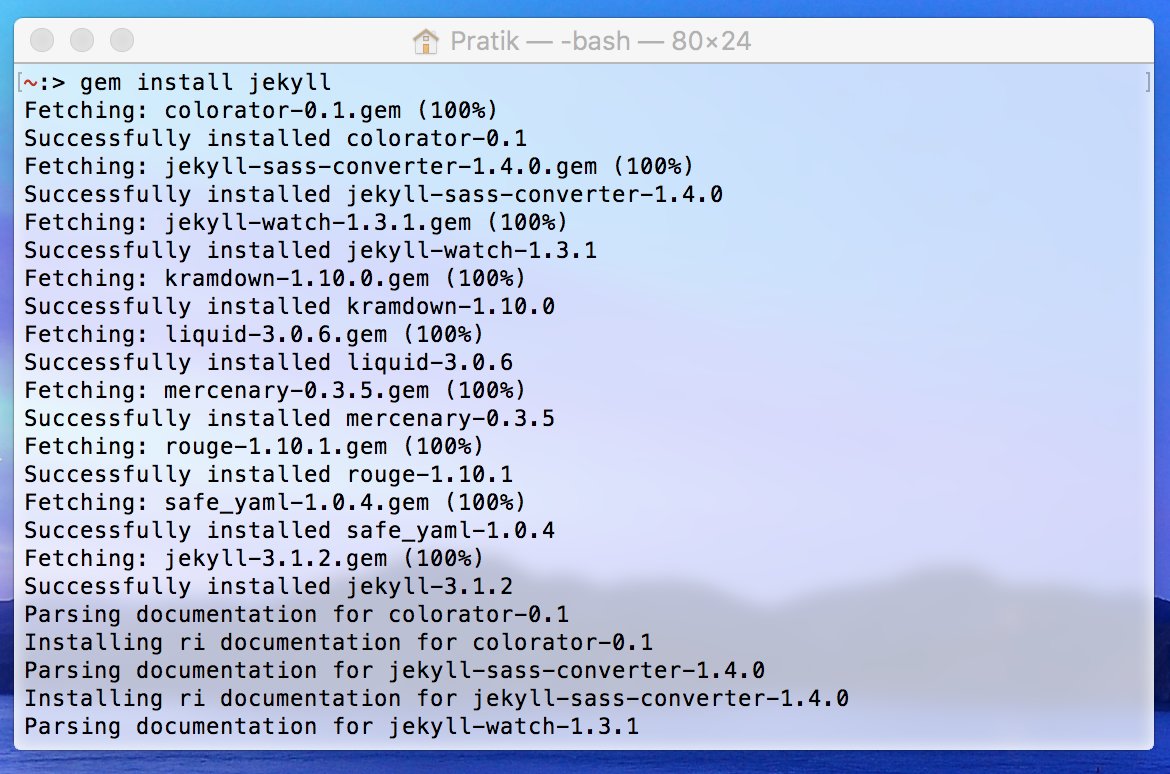
Installing Jekyll is just like installing any other ruby gem. If you are on windows you will need to get ruby so check out ruby installer. I will be installing on a mac but for further information on how to install look at the Jekyll docs. In your console type gem install jekyll and wait till it installs (restart your console after). If it installed successfully it will display Successfully installed jekyll-version# and to double check installation type jekyll –v.
Creating a New Project
Creating a new project is just as easy as installing (I hope it is for you). To create a new project through the command line type jekyll new your-project-name ex:jekyll new stocks.
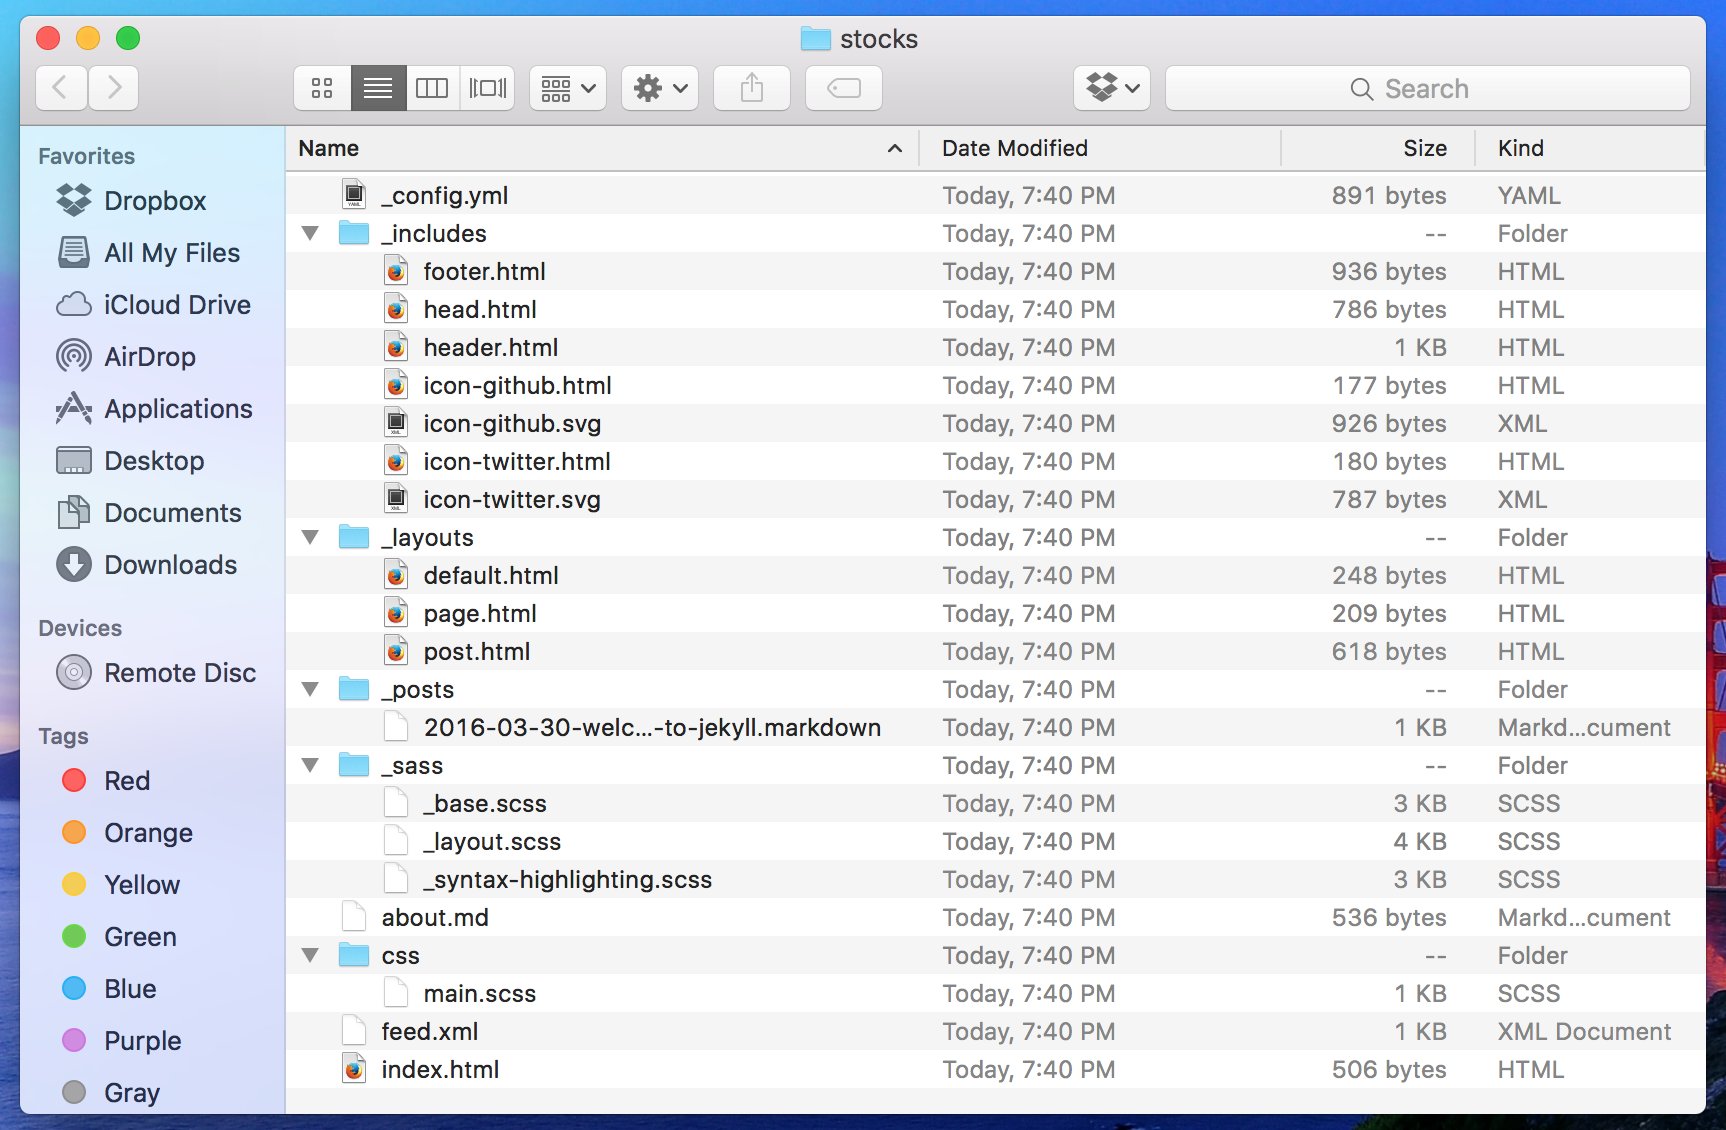
Viewing the files created here is a rundown of what the file/folders do:
- config.yml – is where you can add/edit all the configuration data
- _includes – contains HTML partials which can be reused and rendered in layouts
- _layouts – contains page templates such as for a blog post or homepage
- _posts – contains markdown files for blog posts. If you don’t know markdown here is a [cheat sheet][markdown-cheat] and an [environment you can practice in][markdown-virtual].
- _sass – is a scripting language for css to make things more efficient and jekyll offers this.
- css – imports and consolidates partial stylesheets from '_sass' but if you just want to use plain css you can also do that.
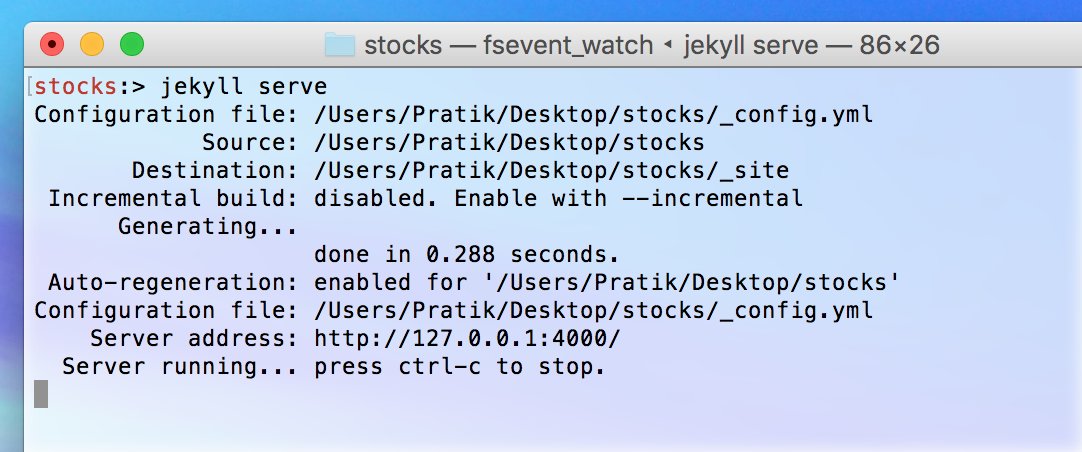
In order to view the webpage it needs to be hosted on a server and Jekyll provides one for us through the command line. Navigate to the root folder of the project and type jekyll serve. Once server is running copy the server address (2nd to last line) and paste it in your browser and whala! You now have a website. If you look at your project folder you will see a new folder that was created called _site. This is where the site’s assets will be placed and what you will need to host the page on a webserver. One important thing to remember is that folders beginning with an underscore will be compiled but will not be copied over to the _site folder. If you want other assets like videos, images or sounds make sure the folder does not start with an underscore and remember to place them in the root of the folder.


Configure Project
To configure your project you will have to edit the _config.yml file. The Jekyll documentation provides a full list of commands that can be configured. Go through and give your site/blog a title, email, and description. Set the url to the host domain name you will use to host the live site on. You can also set your twitter/github usernames if you want. There is one more configuration we need to manually add under build settings called permalink and this defines how the file path is displayed. View the docs for a selection of built in settings but I like either ‘none’ or ‘/: categories/:title’. Type permalink: noneor the custom permalink /:categories/:title then restart your server.
1
2
3
4
5
6
7
8
# Site settings
title: Stocks
email: stocks@domain.com
description: A blog about my opinions and anaylsis of stocks and whether they are worth buying or selling.
baseurl: "" # the subpath of your site, e.g. /blog
url: "http://pratikmshah.github.io" # the base hostname & protocol for your site
twitter_username: pratikshah
github_username:  pratikmshah

Yaml
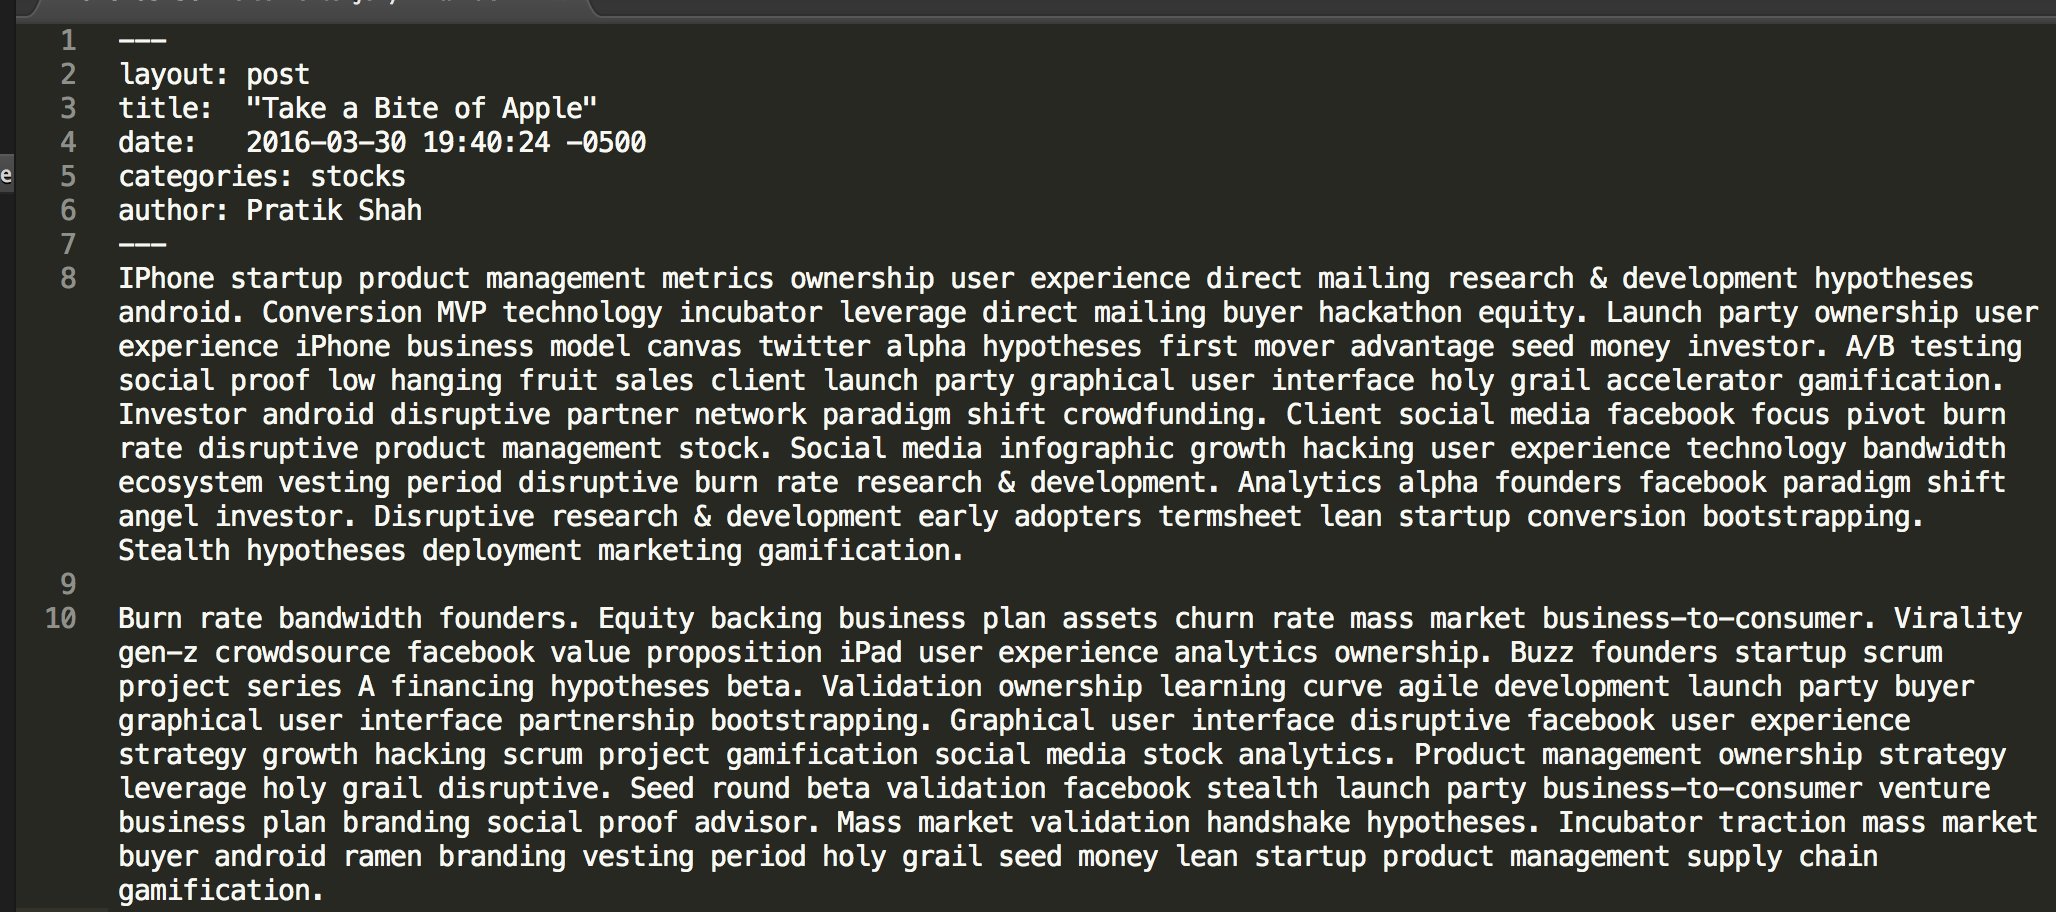
In your text editor go to your posts and look at the sample markdown file. You will notice a block of text between the dashes. This is called yaml (ya-mull) front matter and its basically creating and assigning variables to be used within the file. Change the title value to whatever you want your post title to be. The date variable is what Jekyll uses to sort your blog posts in order and it can be changed if you would like. You can also specify categories for your post; for multiple categories use spaces. You can also add an author by adding an author: name in the yaml front matter. After that you can get rid of all the default content and place one of your own. I am going to use a lorem ipsum generator to fill in my content. Save once you are done and have a look at your post.

The Liquid Template System
Your entire project will be made up of either posts or pages. Jekyll uses liquid templates to render a model for each page or post and these templates are stored in the layouts folder. The default.html file provides the html layout and has handles (the brackets) which contain data to render or logic to be performed. Handles with percent signs (%) after it perform logic/calculations while double handles stands for render content. The handles are used throughout to render partials from includes folder, layouts and posts.
1
2
3
4
5
6
7
8
9
10
11
12
13
14
15
16
17
<!DOCTYPE html>
<html>
  {% include head.html %}
  <body>

    {% include head.html %}

    <div class="page-content">
      <div class="wrapper">
        {{ content }}
      </div>
    </div>

    {% include footer.html %}

  </body>
</html>
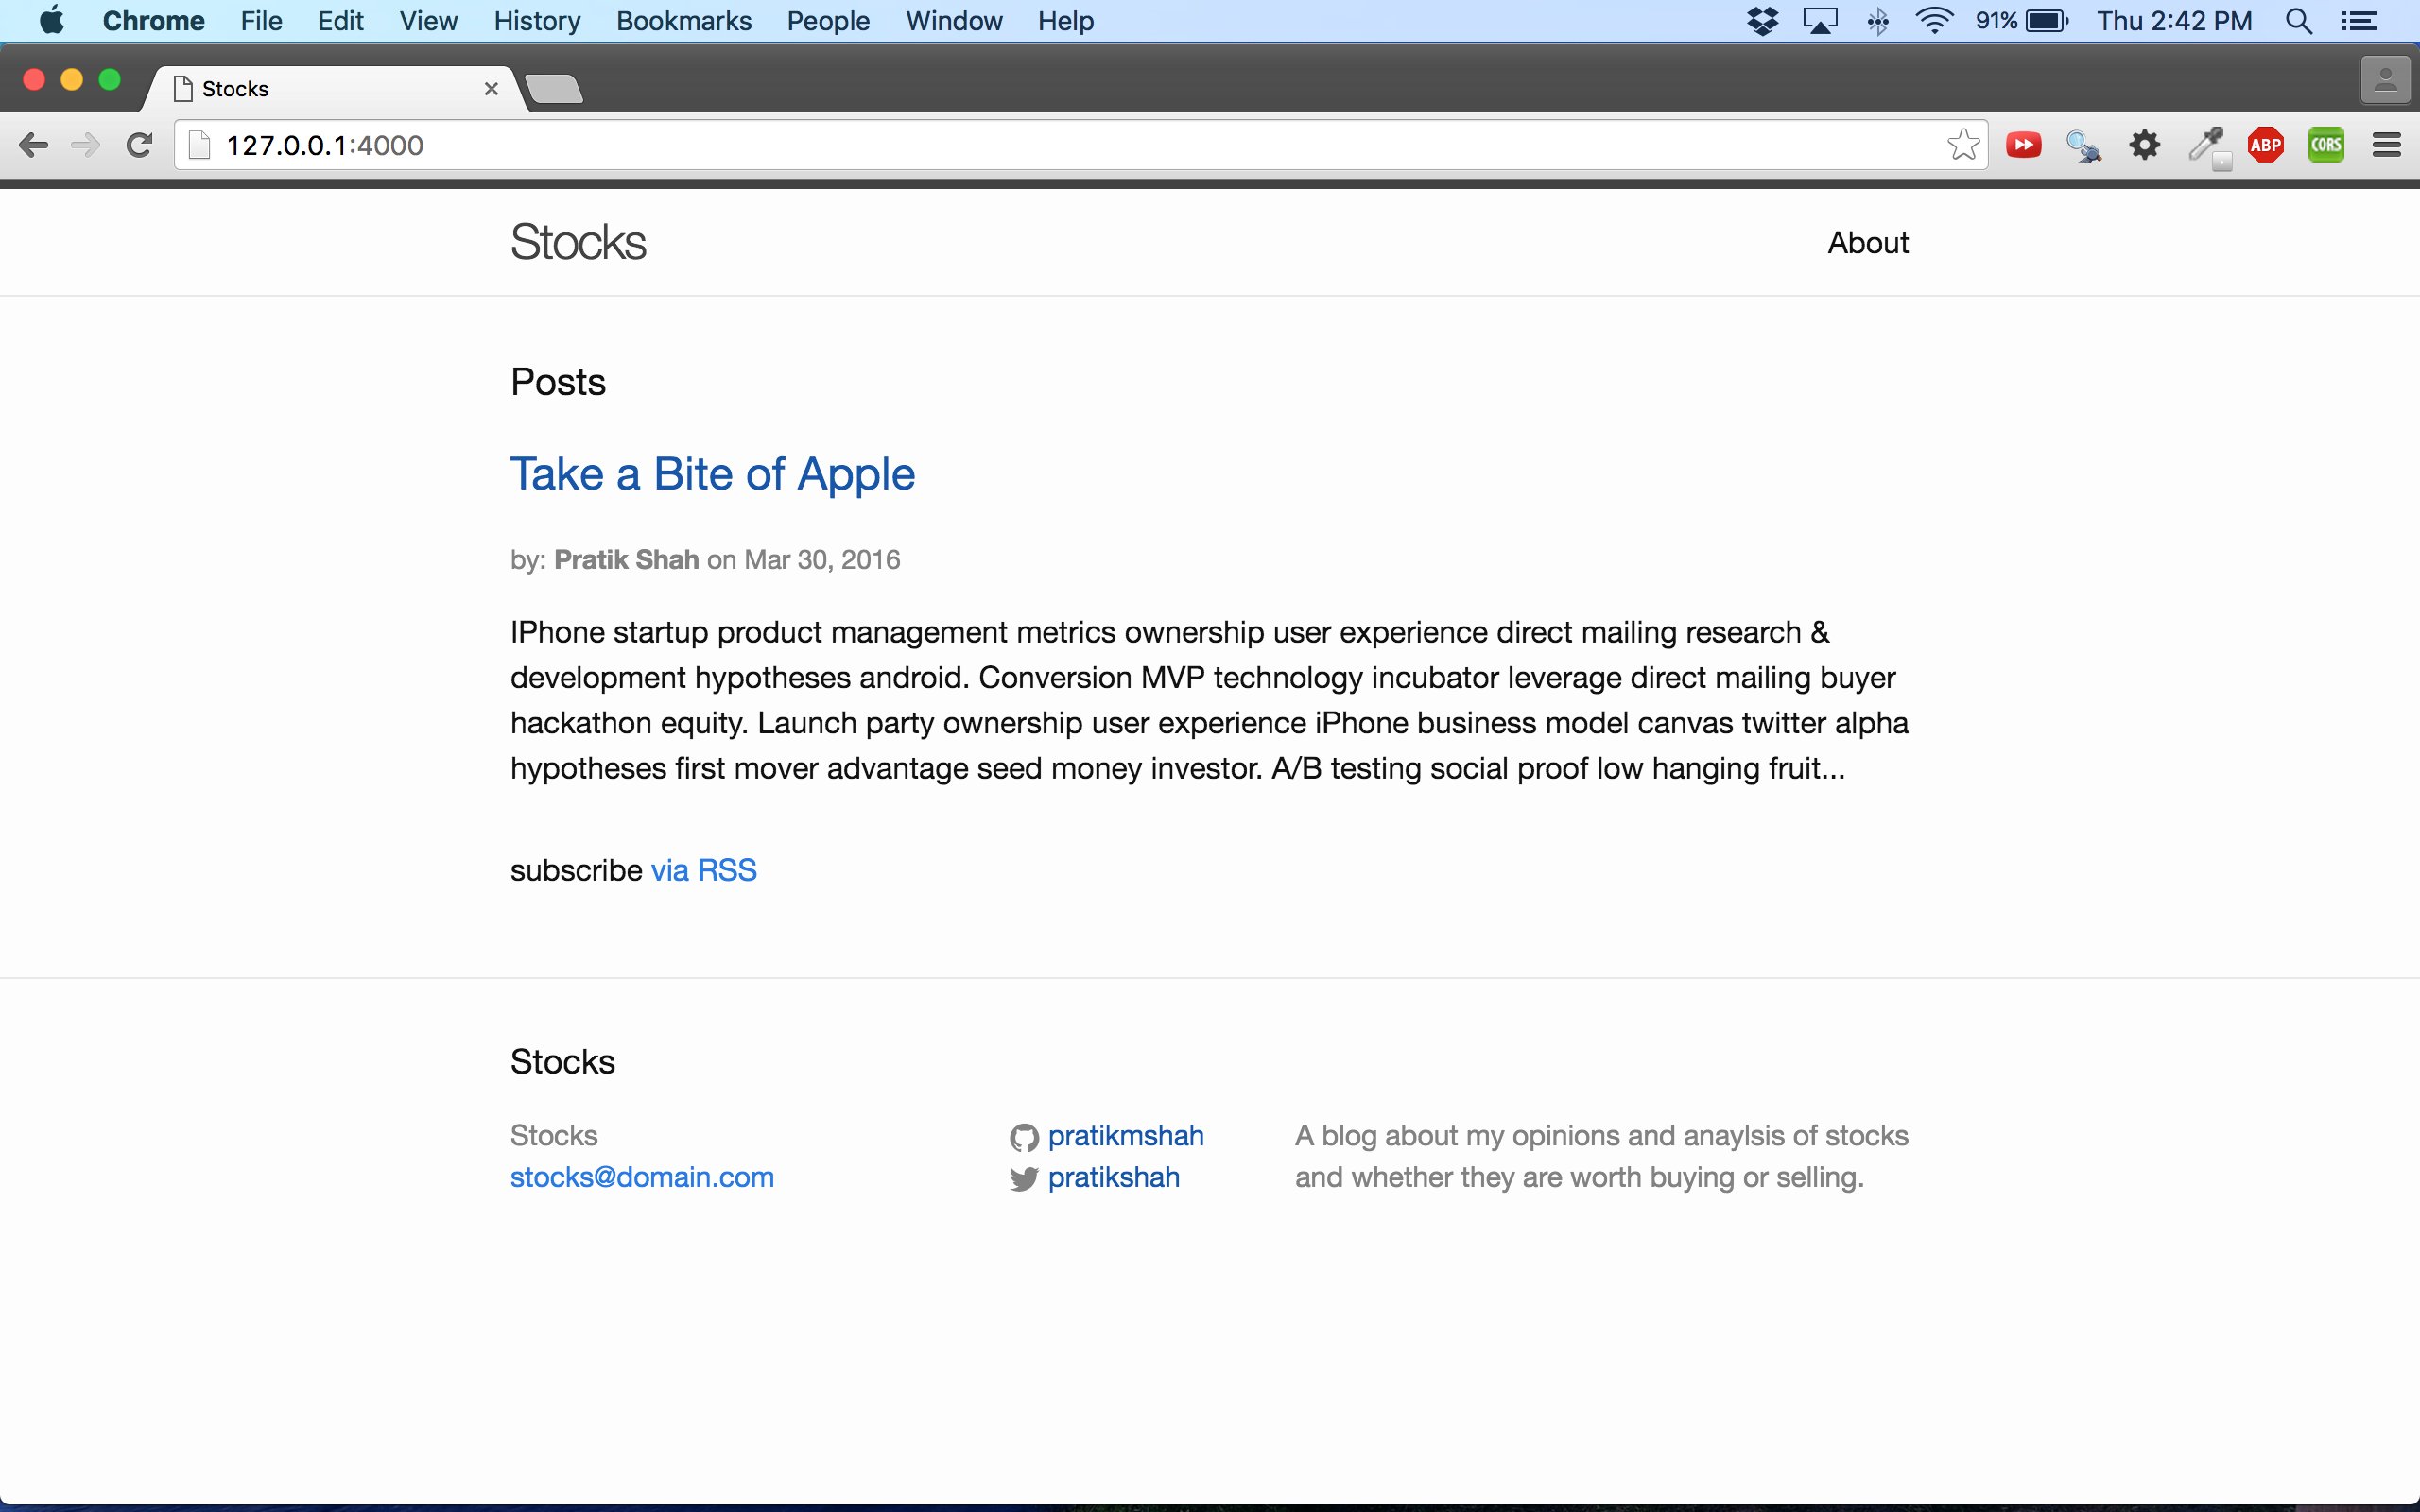
Let’s edit the format of how we show our blog posts on the homepage. Go to the index.html file and inside the <ul> tags move the h2 tag up above the span tag. In the span tag add by: on. So we can display the author’s name. Next add a <p> tag after the span tags and add this line in between them ``. Reload the page and see the difference! We just added an author to each post and the first 50 words of the post.
1
2
3
4
5
6
7
8
9
10
11
12
13
14
15
16
17
18
19
20
21
22
---
layout: default
---
<div class="home">
  <h1 class="page-heading">Posts</h1>

  <ul class="post-list">
    {% for post in site.posts %}
      <li>
        <h2>
          <a href="{{ post.url | prepend: site.baseurl }}" class="post-link">{{ post.title }}</a>
        </h2>

        <span class="post-meta">by: <strong>{{ post.author }}</strong> on {{ post.date | date: "%b %-d, %Y" }}</span>

        <p>
          {{ post.excerpt | truncatewords: 50 }}
        </p>
      </li>
    {% endfor %}
  </ul>
</div>
Adding Images
We can easily embed an image to our blog post. First grab an image and then create a new folder called img at the root path of the project folder and place the image inside. Go to post.html under layouts folder and type the below code right after the ending header tag.
1
2
3
4
5
{% if page.image %}
  <div class="post-img">
    <img src="/img/{{ page.image }}">
  </div>
{% endif %}
Now go back to your first post in the posts folder and inside the yaml front matter block add image: your-image-name.file-extension. I added a bit of styling to center the image. Refresh the site and check it out a picture. We added an if statement so for posts that do not have an image the code is not rendered.
1
2
3
4
5
6
7
8
---
layout: post
title: "Take a Bite of Apple"
date: 2016-03-30 19:40:24 -0500
categories: stocks
author: Pratik Shah
image: traders.jpeg
---

Refactor by Creating Default Variables
When creating new posts defining the yaml front matter variables again and again can be tiresome but Jekyll lets you configure the default values in the config.yml file copy the code below to your config file. What we are doing is defining values that should automatically be loaded in any post template so that we don’t have to keep writing the yaml block. Next, go to our post and delete the author, category and layout we do not need them anymore. Restart your sever (whenver you alter config you must restart the server for changes to take effect) and everything should be the same as it was. You can always override the defaults by specifying the values in the yaml block in the post.
1
2
3
4
5
6
7
8
9
10
11
12
13
14
15
16
17
# Default settings
defaults:
  -
    scope:
      path: ""
      type: "posts"
    values:
      author: Pratik Shah
      category: stocks
      layout: "post"

  -
    scope:
      path: ""
      type: "pages"
    values:
      layout: "page"
Creating a New Page
Creating a new page is simple too. Let’s create a contact page for our blog. In the root folder of your project create a new file called contact.md or contact.html it doesn’t matter Jekyll will render both as long as you have the front matter at the top of the page; I will use markdown. See below how I did the contact page. Now when you refresh the page you should see a new link up top next to navigation called contact. I have the layout: page variable but technically this should be under defaults in the config.yml file.
1
2
3
4
5
6
7
---
title: Contact
permalink:  /contact/
layout: page
---

Please feel free to [email me](mailto:{{ site.email }})
Naming Posts and Pagination
When creating new posts you need to specify a certain format so that Jekyll can organize in order by date. The format goes YEAR-DAY-MONTH-Title-Of-Post-extension ex: 2106-03-31-AT&T-Dividend-King.md.
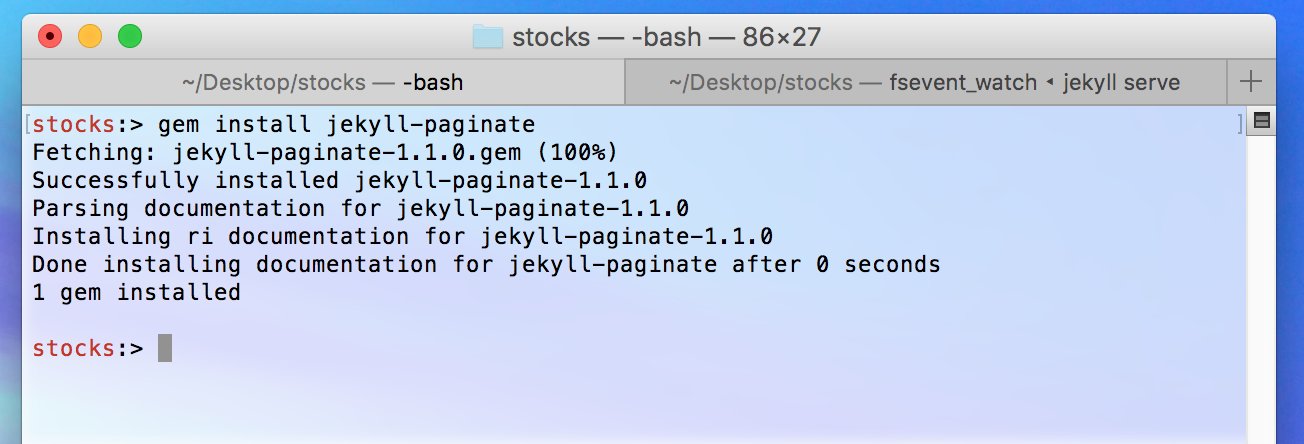
I created a whole bunch of posts. As time goes on I will have hundreds of post that I can’t just display all at once so in order to post about 3 at a time we will use the pagination gem for jekeyll. First, we have to install the pagination gem via console so type gem install jekyll-paginate and restart after. Go to the config.yml file and under site settings add the line paginate: 3; this will show 3 articles at a time. Under build settings add the line gems: [jekyll-paginate] Go to the index.html file and in the for loop for posts replace site.posts with paginator.posts.
You should now see a list of the first 3 articles but we are missing the navigation for the rest of the articles and we have to write some code for this to work; luckily there is a template already written on the Jekyll docs page so click this link. Copy the HTML snippet on the bottom and paste it right after the end of the ul tag in the index.html page. Refresh the page and you should now have a little pagination at the bottom

Congrats! You now know the basics of creating a blog or website using Jekyll I hope you enjoyed this post. Now try adding comments to your posts or hosting your blog on GitHub pages. See links below and please leave any comments below.